


Brookhollow Park in Grounded 2: Into the Abyss gives you a very challenging region to walk around while avoiding all the dangerous enemies that are out there to kill you. Exploration requires proper mobility. Thankfully, there are some ways of doing it while staying safe at the same time.
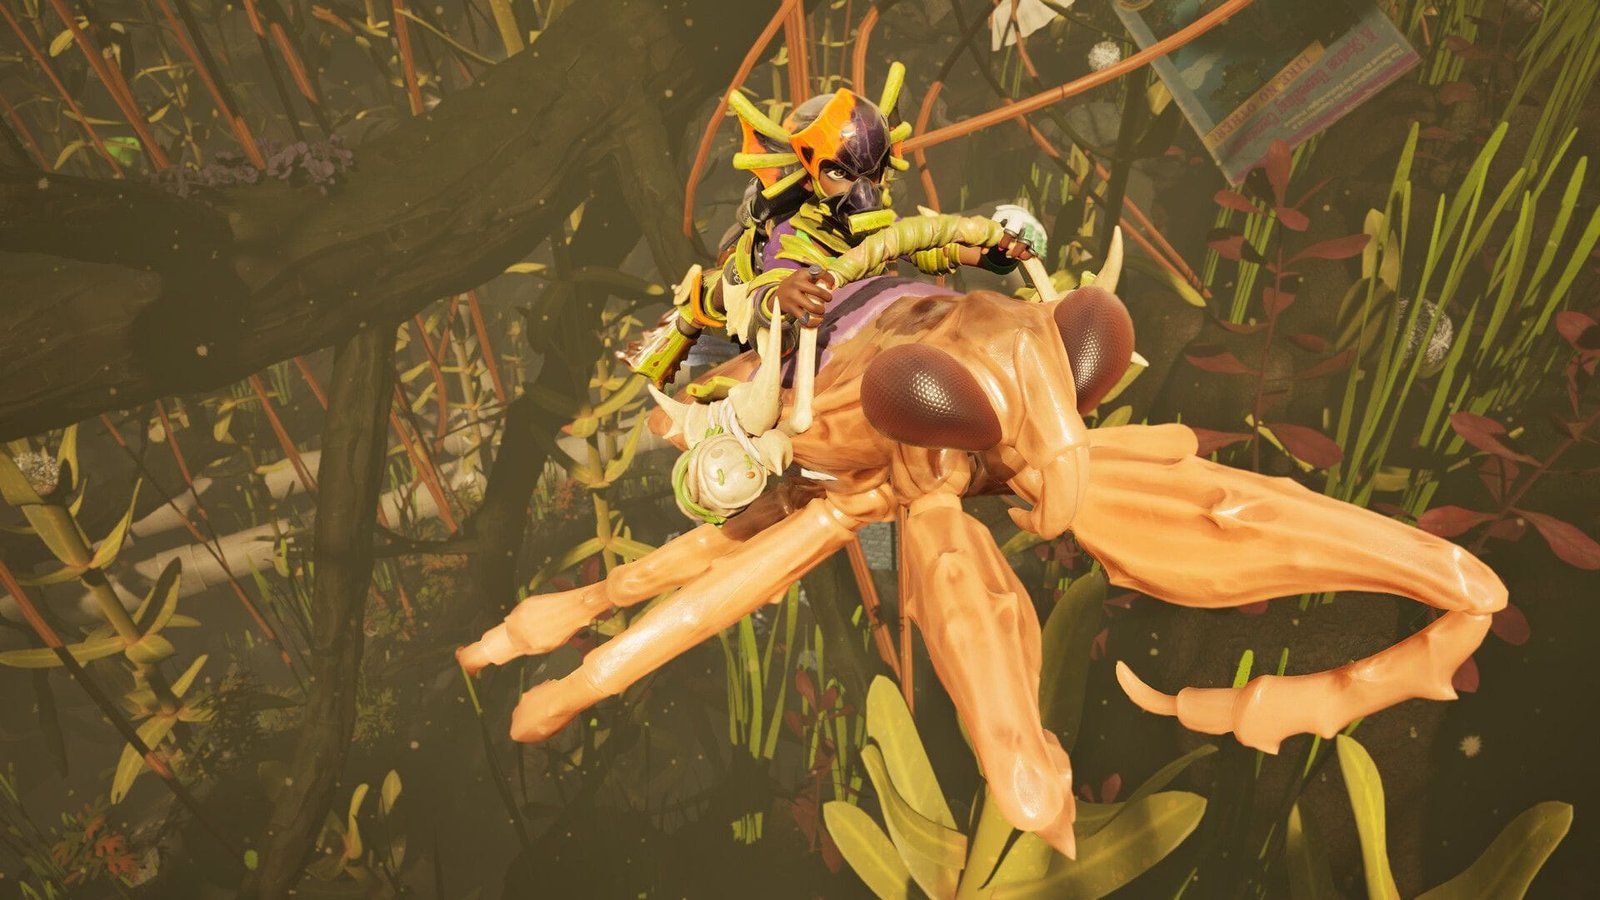
Toe Biter Buggy in Grounded 2 is an amphibious mount capable of skimming across water, diving into underwater caves, and covering land with ease. Beyond mobility, its ability to inflict Chill and Venom effects makes it one of the most powerful and versatile mounts in the game.
Since it is such a powerful thing to use, unlocking it is not an easy process but certainly worth the effort. There are a string of things you need to do to get this mount. Also, there is one crucial step that you need to know or else your entire effort will go to waste. Here is the complete guide to hatching and claiming your own Toe Biter Buggy.
How to get Toe Buggy in Grounded 2: Into the Abyss

To get started, you must first get the Aquatic Optical Disc, which holds the necessary blueprints for the mount. You can find this disc by going to the very top of the massive tree in the Gnarly Bark region.
Once you have acquired the disc, bring it to any unlocked Ranger Station terminal. There, you can hand over the disc and purchase both the Toe Biter Buggy Recipe and the Toe Biter Nest Recipe for 5,000 Raw Science.
With the blueprints unlocked, your next task is to obtain a Toe Biter Egg by defeating the Papa Toe Biter boss. Head to the hidden cave situated directly behind the memorial landmark in the Gnarly Bark region to start the encounter.
The boss relies on heavy physical strikes and venom attacks, but it is extremely vulnerable to Spicy damage. Equipping a high-tier fire weapon like the Walapino will allow you to quickly burn down its health bar, and make the egg claiming process a lot easier.
Before you can hatch the egg, you will need to prepare your base and gather the necessary high-tier resources. First, build a Hatchery at your base if you do not already have one.
Do note that you must place the newly acquired egg onto an Egg Storage rack immediately upon returning home, as leaving the egg in standard inventory slots or on the ground will cause it to rot and spoil before you can use it. During this time, equip upgraded Tier 3 tools, specifically the Omni Clippers and a Tier 3 Shovel, so you can go into underwater areas to collect Pond Moss, Koi Scales, and Sunken Bones.
Once you have gathered all required materials, place the Toe Biter Egg inside the Hatchery alongside your resources to begin the incubation phase. The hatching process takes 12 in-game hours to complete, though you can choose to sleep in a bed to skip through the waiting time much faster.
After the timer ends and your new buggy comes to life, construct a Toe Biter Nest at your base. Interacting with this nest will allow you to safely store, manage, and officially name your new mount.
Read more related articles:
Edited by Pranay Mishra