

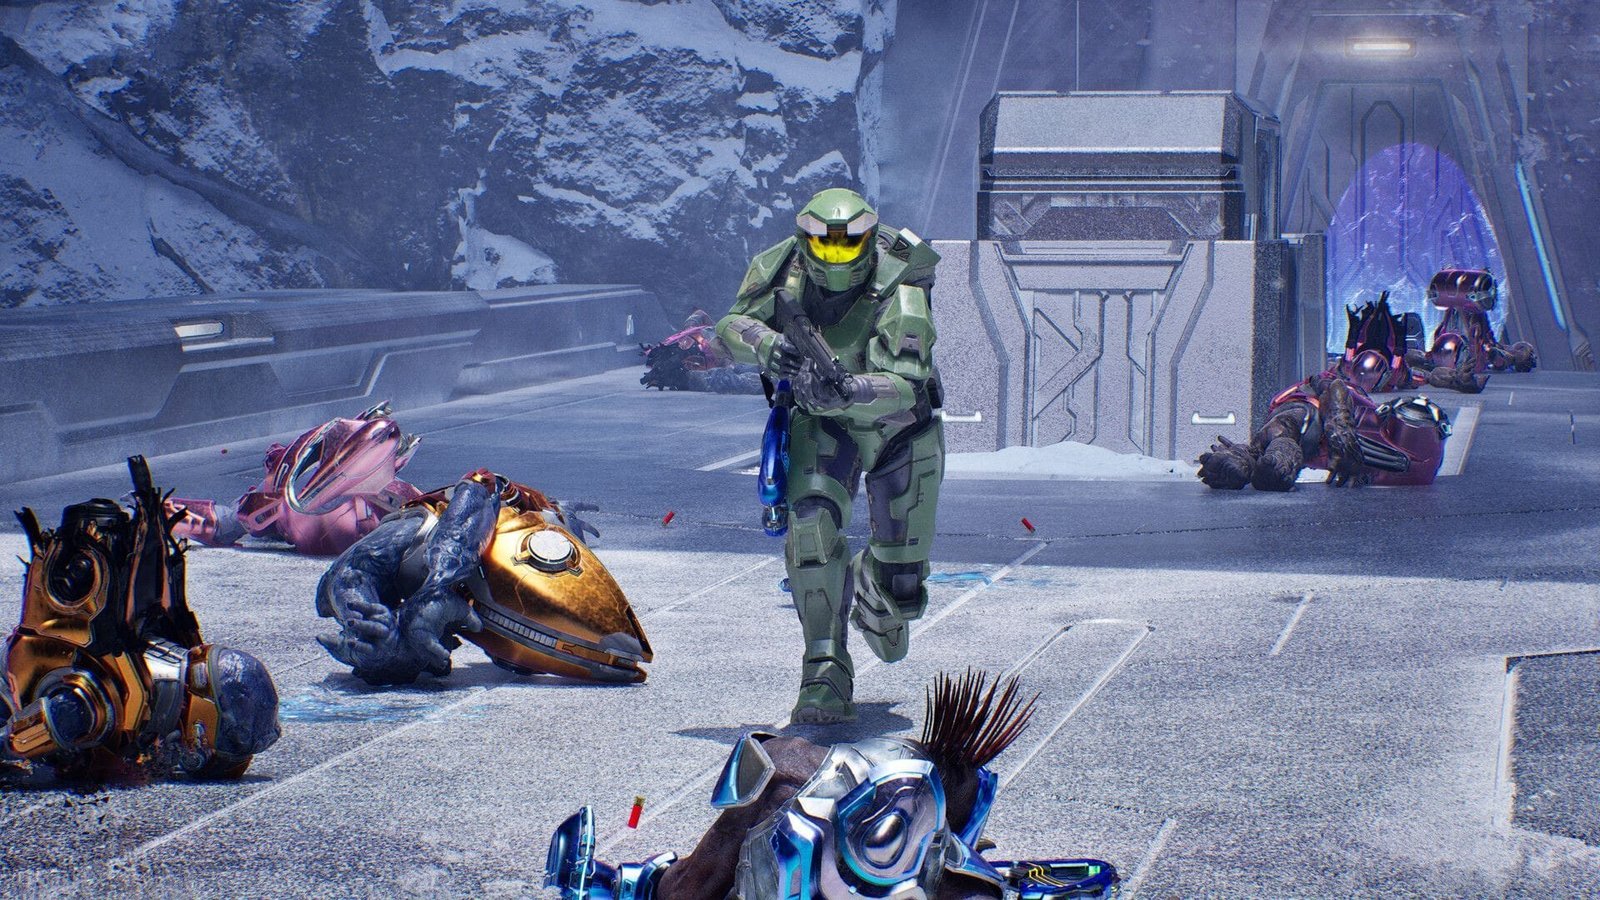

In Halo Campaign Evolved, Assault on the Control Room is the fifth main mission, which sees you defend the Control Room of the ring from Covenant forces. This is a fairly long chapter that offers a good amount of action as well as vehicular combat across a snowy backdrop.
This walkthrough will help you get through each section of Assault on the Control Room in Halo Campaign Evolved.
Also Read: Halo Campaign Evolved walkthrough: How to complete The Pillar of Autumn main quest
How to complete Assault on the Control Room main quest in Halo Campaign Evolved
Rendezvous with Fireteam Zulu
Once you land at your destination from the aircraft, start dispatching the foes stationed in front of the tower. Head through the door to take care of the Unggoy in the passageway, and through the next door into the first chamber. Take the path on the left, disposing of the Sangheili in your way.
There should be another hallway diverging to the left, so head down that path to emerge into an open bridge area. Plenty of enemies line the bridge here, which you can clean up manually or using the turrets on the side. Head to the other side of the bridge and past the door. Once through the hallway, you will emerge into another chamber like the first one but bigger.
Stick to the left side and move through the room, dispatching foes as needed with the objective marker showing you where to go. Head through the archway in the back of the room, turn right and then left to arrive at an elevator. Head down and cross the corridor to emerge into the open.

Since the area is pretty sandbox-like, it is best to have a vehicle for traversal. Thankfully, one of the Covenant in this area has a Ghost that you can hijack. From here on, while it may seem like it’s hard to tell where to go, simply follow the objective marker to the next area.
Once you reach the checkpoint, you will see some USNC troops fighting Covenant nearby. Aid them by piloting the huge Scorpion tank they have with them to spearhead the assault. The objective marker will once again update.
Simply follow it while in the tank, dispatching enemies as you progress. Do note that the area up ahead will have a turret that can deal decent damage to your tank, so be sure to destroy it first. You will now have to head through a tunnel. Head down with the tank, enable the terminal, and then make your way to the other side.
Head for Control Center Ziggurat

You will now arrive at a bridge. Don’t abandon the tank yet and instead take it across. Interact with the panel to open the gate and drive it through. More enemies reside here, so dispatch them and push on through an icy cavern. Once out in the open, more foes should spawn in vehicles of their own, which should be easy to take care of.
The next checkpoint will see you arrive in a valley-like area. There are several turrets here, so carefully dispatch each before progressing further into the zone. Drive your vehicle to the lower area, and a Covenant airship should spawn, which you can destroy as well. Up ahead will be another tunnel, but unfortunately it is too small for the tank to fit through.
After bidding your tank adieu, head through the tunnel on foot, though you should have the support of any soldiers that have survived until now. More enemies lie in ambush ahead, so take them out and check the nearby rock on the right for a Rocket Launcher and some ammo.

This will be handy for destroying enemy turrets and vehicles that impede your progress up ahead, alongside the destination, which is a doorway guarded by two turrets. Head inside, dispatch foes in the hallway, then stick to the left path and trudge on, following the marker through the corridor up ahead.
Be wary of the Unggoy that carry two glowing explosives in their hands, as getting hit by them can instantly kill you. Proceed through the corridor until you arrive at an elevator that will take you to the upper floor. Deal with the shield-wielding Jackals in the room ahead and emerge into the next room, which is fairly large.
Press on and head through the door at the end of the room. You will find yourself on a bridge. Cross it to the other side while clearing out any foes that step in your way. Through the other door, you will follow a hallway into another chamber lined with foes. Follow the objective marker, and you should encounter a room with a couple of Sangheili.

There will also be a Rocket Launcher here, indicative of things to come in Halo Campaign Evovled. Follow the objective marker through another corridor which leads to a second bridge to cross. The chamber past the door ahead will have Hunters, which is what you should save the Rocket Launcher for, as these heavily armored foes can tank a lot of standard damage.
Upon defeating all enemies, follow the corridor ahead and emerge outside. Defeat the enemies here and check out the parked Banshees on the bridge, which is what you will use for flight in the game. Maneuver the aircraft towards the next objective marker.
Head for Halo’s Control Room
As you reach the Control Room, you will find that its perimeter is teeming with Covenant forces. Take them out from afar using the Banshee’s built-in weaponry and land near the terminal as per the objective marker. Get ready for a fight, as once the gate opens up, a ton of enemies will start shooting at you. Clear the area and head through the door on the other side of the corridor to get to the Control Room.
This wraps up the Assault on the Control Room main mission in Halo Campaign Evolved.
Halo Campaign Evolved is on PC, PS5, and Xbox Series X|S platforms.
Check out more articles:
Are you stuck on today’s Wordle? Our Wordle Solver will help you find the answer.
Edited by Siddharth Patil